Disk cloning is a lifesaver for upgrading your storage, backing up critical data, or recovering from system failures. But if you’re new to the process, you might wonder: How do I safely clone a drive without losing data? This guide walks you through how to use a disk cloning tool like a pro, whether you’re migrating to an SSD, creating backups, or troubleshooting.
What Is Disk Cloning? (And Why It Matters)
Disk cloning creates an exact, sector-by-sector copy of your entire drive, including the OS, apps, files, and hidden partitions. Unlike simple file backups, cloning ensures:
- Faster system migration (e.g., HDD to SSD).
- Bootable backups for instant disaster recovery.
- Consistent setups across multiple devices.
Popular tools like Macrium Reflect, Clonezilla, or Acronis True Image simplify the process for both beginners and pros.
Step 1: Choose the Right Disk Cloning Software
Not all tools are created equal. Prioritize software that offers:
✅ User-friendly interface (for beginners).
✅ Support for your OS (Windows, macOS, Linux).
✅ SSD optimization (4K alignment, TRIM support).
✅ Scheduled cloning for regular backups.
Free options: Clonezilla, EaseUS Todo Backup.
Premium picks: Acronis True Image, Macrium Reflect.
Step 2: Prepare Your Source and Target Drives
- Backup important data: Cloning can overwrite your target drive.
- Connect the target drive: Use a USB-to-SATA adapter or internal slot.
- Ensure the target drive is larger than the source’s used space.
⚠️ Pro Tip: Clean the target drive beforehand to avoid partition conflicts.
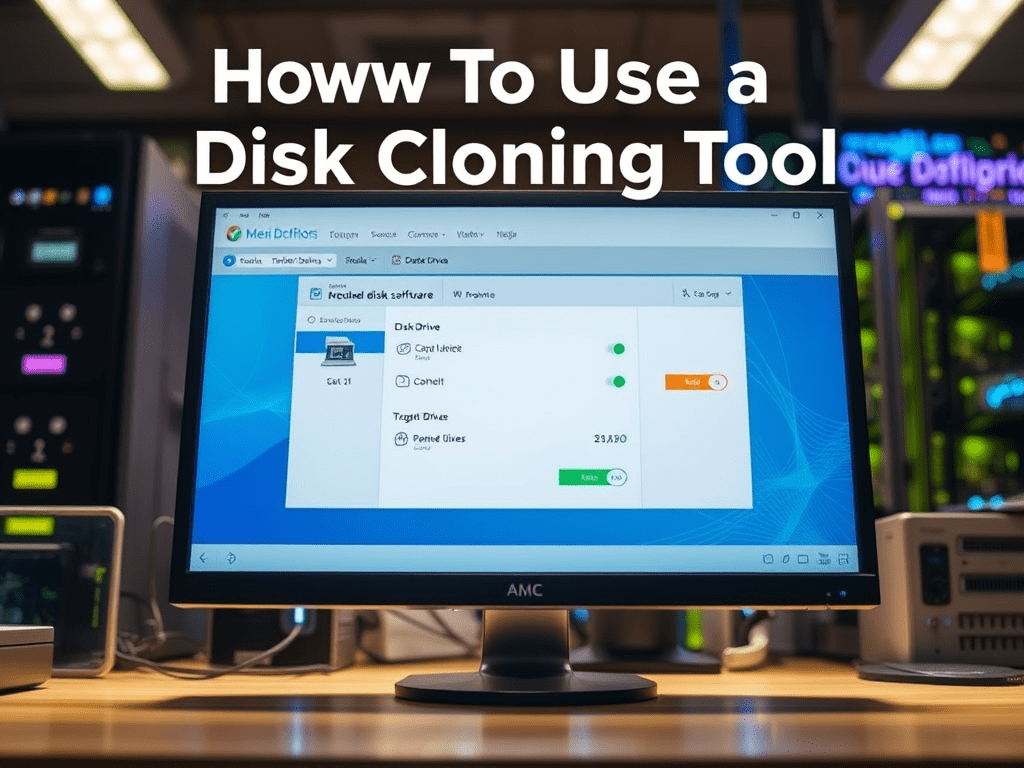
Step 3: Launch the Cloning Tool & Select Drives
- Open your chosen software (we’ll use Macrium Reflect as an example).
- Select the source drive (the disk you’re copying).
- Choose the target drive (the destination disk).

Step 4: Configure Cloning Settings
Most tools offer two cloning modes:
- Full Clone: Copies every sector (ideal for system migration).
- Intelligent Clone: Skips empty sectors (faster for backups).
Advanced options:
- Resize partitions (if the target drive is larger).
- Exclude files/folders to save space.
- Enable SSD optimization for performance.
Step 5: Start the Cloning Process
- Click Clone or Start and wait for the progress bar to complete.
- Time varies based on data size (e.g., 1 TB may take 1–3 hours).
- Do not interrupt the process—this can corrupt both drives.
Step 6: Verify the Cloned Drive
After cloning:
- Disconnect the source drive (for safety).
- Boot from the cloned drive:
- Restart your PC and enter BIOS/UEFI (press F2/DEL during startup).
- Set the cloned drive as the primary boot device.
- Check files and system functionality.
Common Disk Cloning Scenarios
- Upgrading to an SSD: Clone your HDD to enjoy faster speeds.
- Backup for disaster recovery: Replace a failing drive instantly.
- Duplicating setups: Deploy identical systems across multiple PCs.
Troubleshooting Disk Cloning Errors
- “Insufficient space”: Clean the target drive or choose a larger one.
- “Clone not bootable”: Ensure BIOS/UEFI recognizes the drive and partitions.
- “CRC errors”: Check for source drive corruption with
chkdsk(Windows) or Disk Utility (macOS).
Top 5 Disk Cloning Tools in 2024
- Acronis True Image: Best for beginners and advanced users.
- Macrium Reflect: Reliable for Windows system migration.
- Clonezilla: Free, open-source, but command-line heavy.
- EaseUS Todo Backup: Great for incremental backups.
- dd command (Linux): Built-in terminal tool for experts.
Conclusion: Master Disk Cloning in 6 Steps
Learning how to use a disk cloning tool empowers you to safeguard data, upgrade hardware, and streamline workflows. By following this guide, even beginners can clone drives confidently.
Ready to start? Download a trusted disk cloner today and never fear data loss again!

Leave a comment