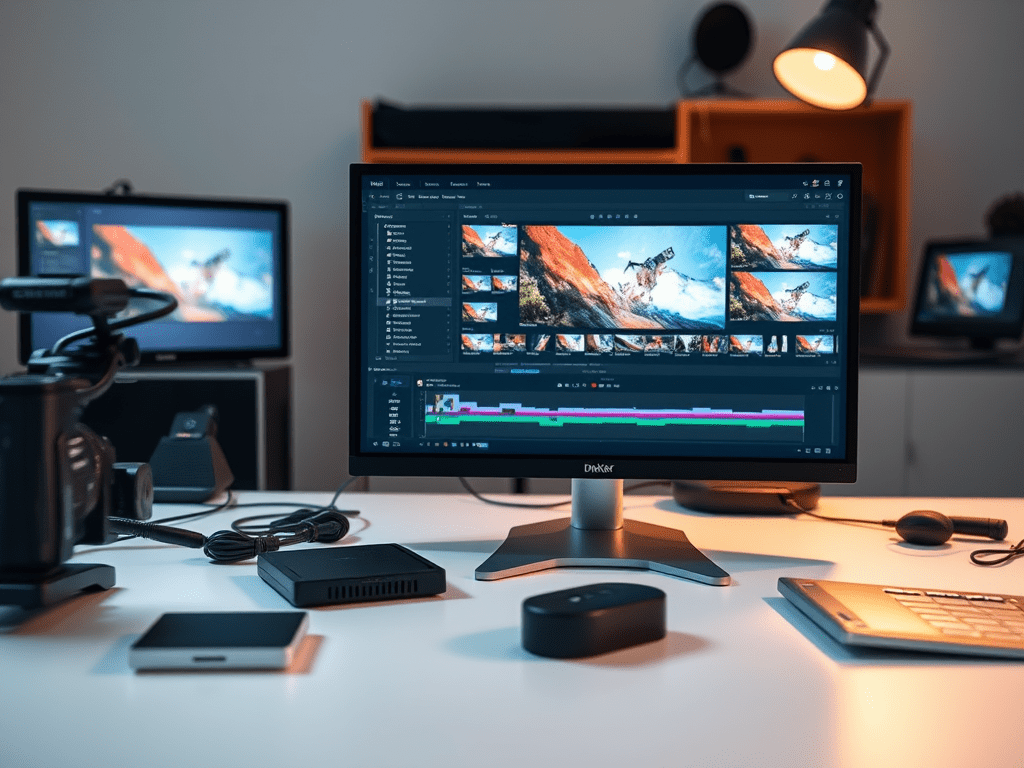
For video editors, smooth playback, responsive timelines, and flawless color grading aren’t luxuries—they’re necessities. Yet many struggle with choppy performance, crashing software, or endless render times. The culprit? Using delivery formats (like H.264/H.265) for editing instead of professional intermediate codecs. Let’s break down why ProRes, DNxHR, and similar formats are non-negotiable for serious workflows and how to convert your footage efficiently.
Why Editors Demand Pro Formats
- Performance Over Compression
- H.264/HEVC: Designed for small file sizes, not editing. Playback requires intense decompression, taxing your CPU/GPU.
- ProRes/DNxHR: Use lightweight intraframe compression (each frame is independent). This allows:
- Real-time playback of multiple streams (even 4K/8K).
- Faster scrubbing, effects rendering, and multicam editing.
- Stability with complex timelines.
- Quality Preservation
- ProRes/DNxHR are visually lossless or near-lossless, protecting color depth (10-bit+/4:2:2/4:4:4) and dynamic range.
- Ideal for color grading, keying, and VFX where pixel integrity matters.
- Workflow Flexibility
- Frame-accurate editing without generation loss.
- Broad software/hardware support (Adobe Premiere, DaVinci Resolve, Avid Media Composer, Apple Final Cut).
Key Professional Formats Compared
| Format | Best For | Key Strengths |
|---|---|---|
| ProRes | macOS ecosystems | Apple-optimized, 5 tiers (Proxy to 4444 XQ) |
| DNxHR | Windows/Avid workflows | Avid-native, efficient bitrates (LB to HQX) |
| CineForm | Cross-platform | High dynamic range, GoPro legacy |
| Blackmagic RAW | Camera-native editing | Sensor data retention, adjustable decode |
💡 Note: Avoid editing in camera RAW (R3D, BRAW, ARRIRAW) unless your system excels at debayering. Convert to ProRes/DNxHR for smoother handling.
How to Convert: A Smart Workflow
Step 1: Choose Your Format
- ProRes 422 Proxy/LT: For proxies on low-power systems.
- ProRes 422 HQ / DNxHR HQ: Sweet spot for 4K editing.
- ProRes 4444 / DNxHR HQX: VFX, alpha channels, HDR workflows.
Step 2: Use Reliable Tools
- Adobe Media Encoder (Integrates with Premiere/AE)
- DaVinci Resolve (Free version supports ProRes/DNxHR)
- Shutter Encoder (Free, cross-platform powerhouse)
- FFmpeg (Command-line flexibility)
Step 3: Optimize Settings
- Resolution: Match source (avoid upscaling).
- Frame Rate: Maintain original.
- Color Space: Preserve log/RAW data if grading later (e.g., Arri LogC → ProRes 4444).
- Audio: Embed 24-bit PCM or uncompressed audio.
Step 4: Batch Convert & Organize
- Group clips by project/scene.
- Use folder structures:
  /Project_Name
    /Source_Footage
    /ProRes_Proxy (for offline)
    /ProRes_422 (for online)
When NOT to Convert
- Final Delivery: Export to H.264/HEVC for web, ProRes/DNxHR for broadcast masters.
- Archiving: Keep original camera files + ProRes/DNxHR mezzanines.
The Bottom Line
Converting to ProRes or DNxHR isn’t “extra work”—it’s insurance for your sanity. The time saved in playback, rendering, and troubleshooting pays dividends. Whether you’re cutting a documentary on a laptop or grading a commercial on a RAID, professional codecs turn technical friction into creative flow.
🛠️ Pro Tip: Build conversion into your ingest process. Tools like Resolve’s Proxy Generator or Adobe’s Ingest Settings automate this!
Master your workflow, not your compression artifacts. 🎬

Leave a comment