Is your trusty old hard disk drive (HDD) groaning under the load, making your Windows PC feel sluggish? Upgrading to a blazing-fast solid-state drive (SSD) is the single best performance boost you can give it. And the best news? You absolutely can migrate your entire system – Windows, programs, files, and settings – from your HDD to your new SSD without reinstalling a thing. Here’s your step-by-step guide for 2025:
Why Clone Instead of Reinstall?
- Massive Time Savings: Avoid hours reinstalling Windows, drivers, applications, and reconfiguring settings.
- Effortless Transition: Your desktop, files, programs, and preferences remain exactly as they were.
- Zero Data Loss Risk (if done correctly): Your original HDD remains untouched until you verify the clone works.
- Instant Performance Gain: Boot into your familiar Windows environment on the speedy SSD immediately.
What You’ll Need:
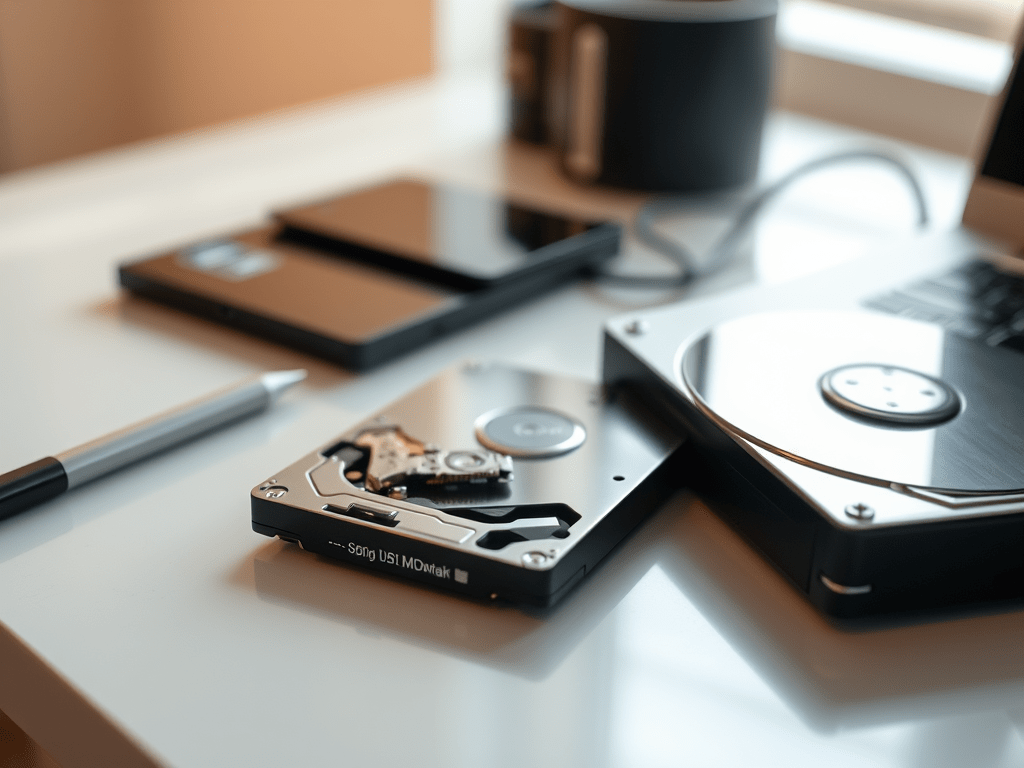
- The New SSD: Capacity should be equal to or larger than the used space on your current HDD. (e.g., If your HDD has 500GB total but only 400GB used, a 500GB SSD is fine; 1TB is better for future growth).
- A Way to Connect the SSD: Choose one:
- SATA-to-USB Cable/Adapter: Simplest for desktops and laptops (ensure it supports UASP for decent speed).
- External Enclosure: Turn the SSD into a temporary external USB drive.
- Free SATA Port & Cable (Desktop): Install the SSD directly inside your desktop PC alongside the HDD.
- Cloning Software: Choose one of these reliable 2025 options:
- Macrium Reflect Free (if still available): Historically excellent, though check its free status in 2025. Alternatives like AOMEI Backupper Standard or EaseUS Todo Backup Free are strong contenders.
- Samsung Data Migration / Crucial Storage Executive / WD SSD Dashboard: Use the brand-specific tool if your SSD is from Samsung, Crucial, or WD. These are often optimized and very user-friendly.
- Clonezilla (Advanced): Powerful free/open-source, but command-line driven and less intuitive.
- A Backup (Non-negotiable!): Before cloning, back up irreplaceable data to an external drive or cloud storage. Cloning is generally safe, but things can go wrong.
The Cloning Process: Step-by-Step
- Prepare the New SSD:
- Connect the SSD to your PC using your chosen method (USB or internal SATA).
- If the SSD is brand new and uninitialized, Windows Disk Management might prompt you to initialize it. Do this if asked: Choose GPT (GUID Partition Table) for modern UEFI systems (most PCs post-2013) or MBR for very old BIOS systems. If it doesn’t prompt, the cloning software will handle it.
- Download and install your chosen cloning software.
- Prepare the Source HDD:
- Clean Up: Delete unnecessary files, empty the recycle bin, uninstall unused programs. This reduces clone time and ensures the SSD is large enough.
- Run Disk Cleanup: Search for “Disk Cleanup,” select your C: drive, and clean system files (especially “Previous Windows Installation(s)” if present).
- Check Disk Health: Run
chkdsk /fon your C: drive (You’ll need to restart). Search “cmd”, right-click Command Prompt, select “Run as administrator”, typechkdsk C: /f, press Y, then restart. - Defragment (HDD Only): While less critical for SSDs after cloning, defragmenting the source HDD before cloning can sometimes optimize the process. Search for “Defragment and Optimize Drives” and optimize your HDD.
- Run the Cloning Software:
- Launch your chosen cloning tool (e.g., Macrium Reflect, AOMEI Backupper, Samsung Data Migration).
- Identify Source & Target: Carefully select your current system HDD (usually Disk 0 or 1, labeled C:) as the Source disk. Select your new SSD as the Target disk. DOUBLE-CHECK THIS! Selecting the wrong target will erase the wrong drive.
- Configure Clone Options (Look for these settings):
- “Clone OS Disk” / “Intelligent Clone” / “System Clone”: This ensures critical boot partitions are copied.
- “Optimize for SSD” / “SSD Alignment”: CRUCIAL! This ensures the clone uses the optimal block size for SSD performance and longevity. Always enable this if available.
- Partition Resizing (if SSD is larger): Most tools will automatically resize your main Windows partition to fill the larger SSD space. Verify this is enabled. If cloning to a smaller SSD, the tool must support intelligent resizing of partitions to fit the used data within the smaller space.
- Review the Plan: The software will show a summary. Verify the source (HDD) and target (SSD) are correct, that SSD optimization is on, and partition sizes look right (especially that the main partition expands to fill the SSD).
- Start the Clone: Click “Start”, “Proceed”, or “Clone”. Confirm any warnings. This process can take anywhere from 30 minutes to several hours, depending on HDD speed, SSD speed, connection type (USB vs. SATA), and data amount. Do not interrupt the process!
- Swap the Drives (After Successful Clone):
- Once cloning completes successfully (the software will say so), shut down your PC completely.
- Desktop: Open the case. Disconnect the power and SATA cables from the old HDD. Connect these cables to the new SSD in the same ports. (Optional: You can leave the HDD connected as secondary storage, but ensure the SSD is connected to the primary SATA port, often SATA0 or SATA1).
- Laptop: This usually requires replacing the internal drive. Carefully remove the old HDD and install the SSD in its place. Consult your laptop’s manual for specific disassembly instructions. If using a USB adapter for cloning, you must physically install the SSD internally now.
- Reassemble your PC/laptop.
- Boot from the SSD & Verify:
- Power on your PC. Enter the BIOS/UEFI setup (usually by pressing Del, F2, F10, or Esc during startup).
- Navigate to the Boot Order or Boot Priority settings.
- Set the new SSD as the first boot device. Save changes and exit (usually F10).
- Windows should now boot from your SSD! It should look and feel exactly like before, just significantly faster.
- Log in and verify your files, programs, and settings are present.
- Go to “This PC” or “Disk Management” and confirm the SSD is now your C: drive.
- Post-Clone Optimization & Cleanup:
- Check TRIM: TRIM is essential for SSD longevity and performance. Open Command Prompt as Admin and type
fsutil behavior query DisableDeleteNotify. It should return0(Enabled). Windows usually handles this automatically. - Verify AHCI Mode: Ensure SATA mode in BIOS is set to AHCI (not IDE or RAID) for optimal SSD performance.
- Disable Defragmentation (for SSD): Windows 10/11 should automatically disable defrag on SSDs and enable Optimize (which runs TRIM). Search for “Defragment and Optimize Drives” and confirm your SSD is set to “Optimize” on a schedule.
- Wipe the Old HDD (Optional but Recommended): Once you’re 100% sure everything works perfectly from the SSD:
- Reconnect the old HDD internally (desktop) or via USB.
- Open Disk Management (
diskmgmt.msc). - Find the old HDD (triple-check it’s the correct disk!). Right-click each partition on it and select “Delete Volume”. Once all are deleted, right-click the disk and select “Initialize Disk” (choose GPT).
- Create a new simple volume and format it (NTFS). Now you have a clean, large secondary drive for storage!
- Check TRIM: TRIM is essential for SSD longevity and performance. Open Command Prompt as Admin and type
Troubleshooting Tips:
- “Boot Device Not Found” after swap: Re-enter BIOS/UEFI and double-check the SSD is first in boot order. Ensure all cables are securely connected (desktop). Try cloning again.
- Clone Fails: Ensure the SSD is larger than the used space. Close all programs before cloning. Try a different USB port (preferably USB 3.x) or cable. Use a different cloning tool. Check the source HDD for errors (
chkdsk /r). - SSD Not Detected: Ensure connections are secure. Try a different SATA port or USB cable/adapter. Check if it appears in Disk Management.
Conclusion
Cloning your HDD to an SSD in 2025 remains a straightforward and highly effective way to revitalize your Windows PC without the hassle of a clean install. By carefully preparing your drives, using reliable cloning software with SSD optimization, and following the post-clone steps, you can enjoy the lightning-fast speed of an SSD while keeping your familiar Windows environment intact. Remember the golden rule: always back up your data first! Enjoy your supercharged PC!

Leave a comment