Upgrading to a newer, larger, or faster M.2 NVMe SSD is one of the most effective ways to revitalize a computer. The raw speed of the PCIe interface offers breathtaking performance gains. However, the cloning process for these drives involves more nuance than with traditional SATA SSDs or HDDs. A simple copy-paste won’t suffice; to ensure a bootable, high-performance clone, you need to employ advanced tactics.
This guide moves beyond basic cloning instructions to address the specific challenges and opportunities presented by the NVMe form factor.
Tactic 1: Choose Your Weapon Wisely (Hardware & Software)
The right tools are half the battle. Not all cloning software and hardware adapters are created equal when it comes to NVMe.
Software Selection:
- Manufacturer Tools: Always check first. Brands like Samsung (Data Migration), Western Digital (Acronis for WD), and Crucial (Acronis for Crucial) offer free, tailored software that often handles their own drives flawlessly, including NVMe-specific optimizations.
- Professional Cloning Suites: For cross-brand cloning or advanced features, third-party software is king. Macrium Reflect (Paid/Free), Acronis True Image (Paid), and Clonezilla (Free, open-source) are top contenders. They support the GPT partition scheme and UEFI boot required by modern systems, and can correctly handle the 4KB sector alignment critical for SSD performance.
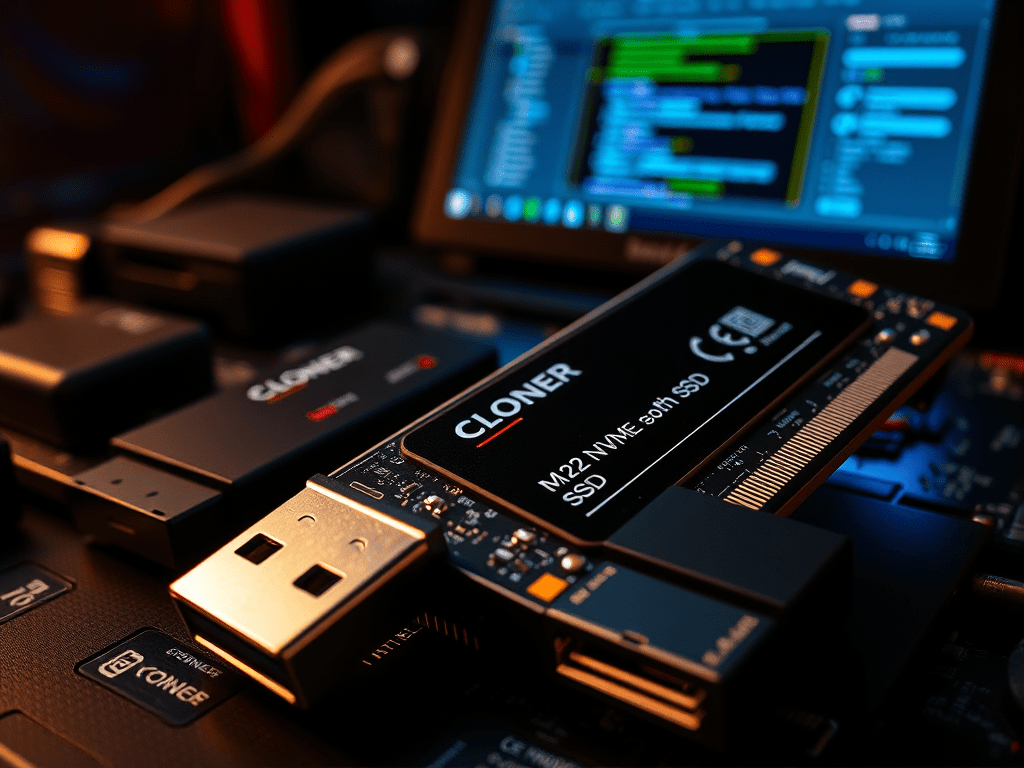
Hardware Adapters (The “Dongle”):
If your motherboard only has one M.2 slot, you’ll need a USB adapter to connect the new drive. This is a critical component.
- Do NOT use a cheap SATA adapter. NVMe drives are PCIe devices and require a specific M.2 NVMe to USB enclosure/adapter. These are explicitly labeled as supporting “PCIe” or “NVMe” drives. Using a SATA-only adapter will result in the new drive not being detected.
Tactic 2: Pre-Cloning Thermal Management
NVMe drives are notorious for throttling performance when they overheat. A cloning process involves sustained, heavy read/write operations which can cause the drive’s temperature to spike. If it gets too hot, the drive will slow down to protect itself, drastically increasing clone time or even causing it to fail.
- Advanced Tactic: If you are cloning from an existing NVMe boot drive, ensure your system has good airflow. Consider running the clone with the side panel off or a fan pointed at the components.
- Advanced Tactic: If using a USB adapter for the target drive, many of these enclosures can get very hot. Place it in a well-ventilated area. Some higher-end enclosures even include small heat sinks.
Tactic 3: Secure Erase vs. TRIM: Preparing the Target Drive
For a standard HDD, a quick format is enough. For SSDs, a more thorough preparation can yield better results.
- TRIM: The operating system command that tells the SSD which data blocks are free. Your cloning software will handle this.
- Secure Erase (Advanced): This is a low-level command that resets the entire NAND flash memory to a factory-fresh state, restoring original write performance. This is especially useful if the target drive is used and may have degraded performance.
- How to: This is best done using the SSD manufacturer’s provided software tool (e.g., Samsung Magician, Kingston SSD Manager), which can often boot from a USB drive to perform a “Secure Erase” safely. Warning: This will erase ALL data on the target drive irrevocably.
Tactic 4: The 80% Rule and Sector-by-Sector Pitfall
- The 80% Rule: For optimal SSD performance and longevity, it’s recommended to keep them less than 80-85% full. When planning your clone, ensure the used space on your old drive is below the total capacity of the new drive. You cannot clone a 1.5TB source to a 2TB target if the source’s used space is 1.8TB.
- Sector-by-Sector Clone (The Pitfall): Most software offers a “sector-by-sector” clone option. Avoid this unless absolutely necessary.
- Why? This method copies every single sector, including empty ones. It’s incredibly slow, especially over USB, and unnecessarily writes terabytes of data to your new SSD, consuming its write endurance. The intelligent “clone” option that copies only partitions and data is vastly superior.
Tactic 5: Post-Cloning UEFI Boot Configuration
This is the most common point of failure. After cloning, your system might not boot from the new drive.
- Physically Swap the Drives: After a successful clone, power down and remove the old drive. This forces the system to try booting from the new one and prevents any bootloader confusion.
- Enter BIOS/UEFI: Boot into your system’s firmware settings (UEFI/BIOS).
- Adjust Boot Order: Navigate to the “Boot” or “Startup” tab. You will likely see multiple options for your new drive. One might be labeled as a legacy device, and another will be labeled with “UEFI:” followed by the drive’s name (e.g.,
UEFI: Samsung 980 Pro). Select the UEFI option as the first boot device. - Save and Exit. Your system should now boot from the new NVMe drive.
Tactic 6: The Final Verification
Your work isn’t done just because you see the desktop.
- Verify Boot Drive: Open Disk Management (
diskmgmt.msc) and confirm that your new NVMe drive is now theC:drive and is marked as the “Boot” drive. - Check TRIM: Open Command Prompt as Admin and run
fsutil behavior query DisableDeleteNotify. A result of0confirms TRIM is active. - Benchmark: Run a benchmark tool like CrystalDiskMark to confirm the new drive is performing at expected speeds. This validates that the clone didn’t introduce any corruption and that the drive is running on the correct PCIe generation (e.g., PCIe 4.0 vs 3.0).
Conclusion
Cloning an M.2 NVMe drive is a process where attention to detail pays massive dividends. By selecting NVMe-aware software, managing thermals, properly preparing the target drive, avoiding the sector-by-sector pitfall, and meticulously configuring the UEFI boot order, you transform a routine data transfer into a seamless, high-performance system upgrade. These advanced tactics ensure you get the flawless, lightning-fast boot and load times you paid for, without any of the common cloning headaches.

Leave a comment