So, you’ve been crushing noobs, pulling off insane clutches, and your gameplay is fire. But when you go to share your highlights, the video looks… messy. Clipping and sharing raw footage is one thing, but creating a truly engaging, professional-looking montage or video essay is what separates a casual player from a content creator.
Enter Adobe Premiere Pro. It’s the industry-standard video editing software, and while it might seem intimidating at first, it’s an incredibly powerful tool for gamers. This guide will break down the essential tools and a simple workflow to get you from a raw recording to a polished masterpiece.
Why Premiere Pro for Gaming?
While there are simpler tools out there, Premiere Pro offers unmatched control and quality. It handles high-frame-rate gameplay (like 120 or 240fps) smoothly, supports all major video formats (including MP4, MOV, and the high-quality ProRes), and its integration with other Adobe apps like After Effects (for insane VFX) and Photoshop (for thumbnails and overlays) is seamless.
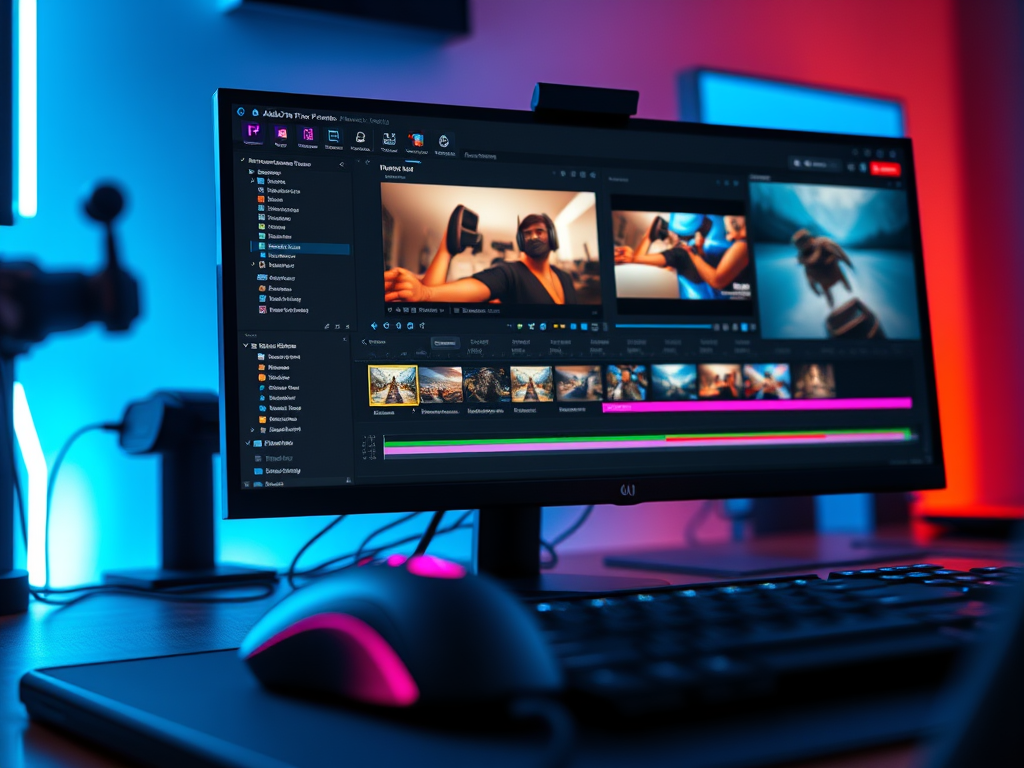
First Look: The Essential Workspace
When you first open Premiere Pro, the number of panels can be overwhelming. Focus on these four main areas:
- Project Panel (Bottom Left): This is your library. This is where you import and organize all your footage, audio, music, thumbnails, and any other assets. Pro Tip: Create folders (called “bins”) for “Gameplay,” “Music,” “Sound Effects,” and “Graphics” immediately to stay organized.
- Source Monitor (Top Left): This is where you preview your raw clips. You’ll watch your gameplay here and select the specific parts you want to add to your timeline by marking “In” and “Out” points.
- Timeline Panel (Bottom Center): This is where the magic happens. This is your editing canvas where you assemble your clips, audio, and effects in sequence. Layers (called “tracks”) are stacked vertically; video tracks on top, audio tracks below.
- Program Monitor (Top Center): This shows you exactly what your current timeline looks like—your final video preview.
- Effects & Tools Panels (Right): This is your toolbox. Here you’ll find all your video/audio effects, transitions, and essential tools like the Razor Tool.
The Gamer’s Editing Workflow: Step-by-Step
Step 1: Setup & Import
- Create a New Project: Give it a clear name (e.g., “Valorant_Ace_Montage_Sept”).
- Create a New Sequence: This is crucial! Match your sequence settings to your gameplay footage. If you recorded at 1920×1080 resolution at 60fps, create a sequence with those same settings (usually “HD 1080p60”). This prevents quality loss and playback issues.
- Import Your Clips: Drag and drop your gameplay video files and any music into the Project Panel. Organize them into the bins you created.
Step 2: The Rough Cut (Assembling the Action)
This is about getting all your best moments in order.
- Drag a Clip: Drag a clip from the Project Panel to the Source Monitor.
- Mark In (I) and Out (O): Play the clip and press
Iwhere you want the clip to start andOwhere you want it to end. This trims the clip down to just the highlight. - Insert (,) or Overwrite (.): With your In and Out points set, press the comma (
,) key to insert the clip into your timeline (shifting everything else over) or the period (.) key to overwrite existing footage. This is faster than dragging! - Repeat: Go through all your gameplay clips, selecting your best kills, funny moments, or key story points and adding them to the timeline in the order you want.
Step 3: Fine-Tuning & Polish (The Essential Tools)
Now, make the edits tight and engaging.
- The Razor Tool (C): This is your best friend. Hit
Cto activate it and click on a clip in the timeline to cut it in two. This allows you to remove dead time, mistakes, or boring parts in the middle of a clip. - Transitions: A simple cross-dissolve or dip to black can be effective. Don’t overdo the flashy transitions! Find them in the Effects panel under “Video Transitions.” Drag and drop between two clips.
- Effects & Color Correction (The Lumetri Color Panel): This is where you make your game pop.
- Basic Correction: Use the “Auto” button or manually adjust exposure and contrast to make the image clearer.
- Creative: Add a cinematic look with LUTs (Look-Up Tables). Many free “game LUTs” are available online to give your footage a specific color grade instantly.
- Text & Graphics: Use the Type Tool (T) to click in the Program Monitor and add text for titles, subtitles, or funny captions. You can animate them using the Essential Graphics panel.
Step 4: Audio is 50% of the Experience
Great audio separates amateurs from pros.
- Music: Drag your background music track to the timeline on an audio track below your gameplay.
- Audio Keyframing: Right-click on the audio track and select “Show Clip Keyframes.” Use this to gradually lower the music volume (called a “J-cut” or “L-cut”) when you want your voice chat or game sound to be heard, and then bring it back up.
- Sound Effects (SFX): Add impact with free sound effects (from sites like Freesound.org). A subtle “whoosh” on a transition or a big “boom” on a final kill makes a huge difference.
Step 5: Exporting for YouTube, TikTok, etc.
You’re done! Now to share it with the world.
- Go to
File > Export > Mediaor pressCtrl+M(Cmd+M on Mac). - Format: H.264
- Preset: For YouTube, use “YouTube 1080p Full HD” or “YouTube 4K Ultra HD” if you have 4K footage. This automatically sets all the best settings.
- Look for “Match Source”: Always check this box to ensure you’re exporting at your original resolution and frame rate.
- Name your file and choose a save location.
- Click Export and go grab a snack while it renders!
Conclusion
Adobe Premiere Pro is a deep program, but you don’t need to know everything to start creating awesome gaming videos. Master this basic workflow: Import -> Rough Cut -> Fine-Tune -> Add Audio -> Export. As you get comfortable, you can explore more advanced features like speed ramping, multi-cam editing for face cams, and dynamic linking with After Effects.
Now stop reading, fire up Premiere Pro, and start turning those epic plays into even more epic videos. Good luck, and have fun creating

Leave a comment