Whether you’re an aspiring content creator, a competitive gamer analyzing your plays, or just someone who wants to capture a memorable gaming moment, recording high-quality gameplay is an essential skill. Grainy, laggy, or poorly edited footage can turn viewers away instantly. This guide will walk you through the hardware, software, settings, and techniques you need to produce crisp, professional-looking gameplay videos.
Part 1: The Foundation – Hardware & Software
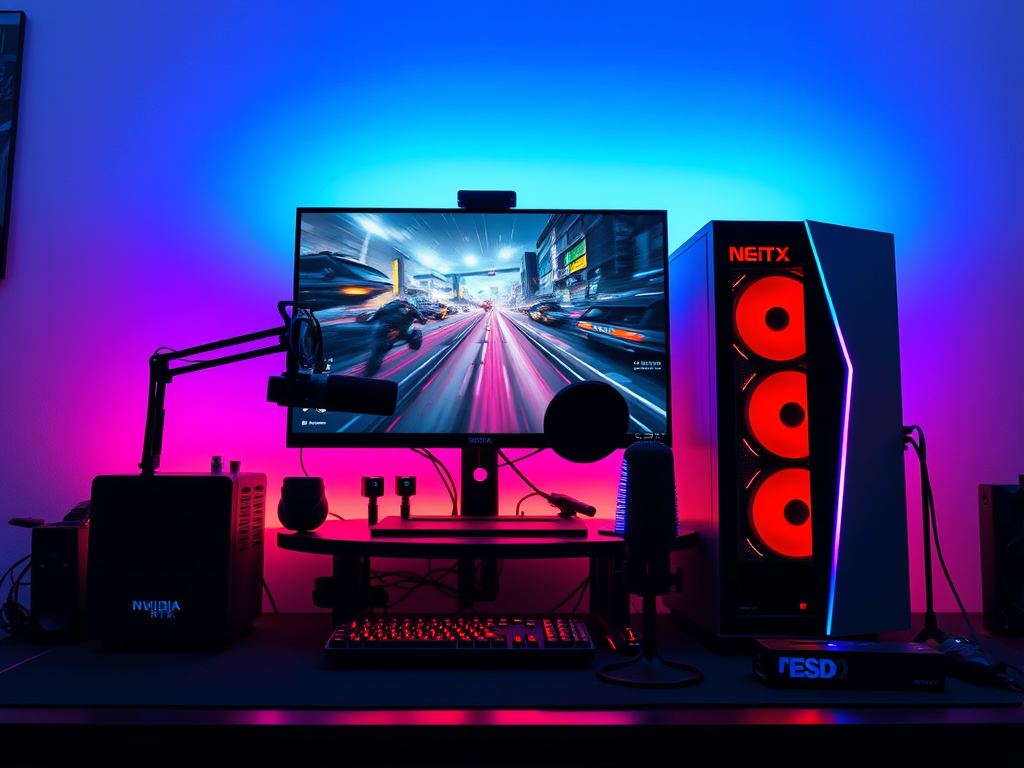
Before you tweak any settings, you need the right tools for the job.
1. Hardware Essentials:
- A Powerful PC: Recording is demanding. A modern multi-core CPU (Intel i7/Ryzen 7 or better) is crucial for handling the game and encoding simultaneously. Your GPU is even more critical.
- Graphics Card (GPU): This is your best friend for recording. Modern NVIDIA (RTX series) and AMD (RX series) GPUs have dedicated encoder chips:
- NVIDIA NVENC: A masterpiece of efficiency. It handles encoding on a separate part of the GPU, resulting in minimal performance hit (often just a few FPS). It’s the gold standard for gameplay recording.
- AMD AMF: Similar to NVENC, it offers excellent performance and quality on AMD cards.
- RAM: 16GB is the recommended minimum. 32GB is ideal, especially for higher-resolution recording or having other applications open.
- Fast Storage: Record to a separate SSD (Solid State Drive), not your primary drive where your OS and game are installed. Writing large video files is I/O intensive, and splitting the load prevents stuttering and dropped frames in your recording.
- A Good Microphone: Viewers will tolerate slightly lower video quality, but never bad audio. A dedicated USB microphone like a Blue Yeti or Razer Seiren is a great start. For the best quality, an XLR microphone with an audio interface is the pro choice.
2. Software Choices (Recording Programs):
- OBS Studio (Open Broadcaster Software): The free, powerful, and incredibly versatile industry standard. It can record and stream, and its customization is unmatched. This is what we will focus on for settings.
- NVIDIA ShadowPlay / GeForce Experience: Extremely lightweight and user-friendly. Perfect for beginners and its “Instant Replay” feature is unbeatable for capturing unexpected moments.
- AMD Adrenalin ReLive: AMD’s equivalent to ShadowPlay, built directly into its drivers. Also very lightweight and effective.
- Xbox Game Bar (Windows): Built into Windows 10/11. Easy to use (Win + Alt + R) but offers limited customization and can be less reliable.
Part 2: Optimizing Your Settings (Using OBS Studio)
OBS is powerful because it gives you control. Here’s how to configure it for pristine recordings.
1. Video Settings (Base Canvas & Output Resolution):
- Base (Canvas) Resolution: Set this to your monitor’s native resolution (e.g., 1920×1080, 2560×1440).
- Output (Scaled) Resolution: Set this to the resolution you want your final video to be. For most platforms, 1920×1080 (1080p) is perfect. If you have a powerful setup, you can record at 1440p or 4K.
- Downscale Filter: Use Lanczos for the sharpest image quality.
- Common FPS Values: 60 FPS is the standard for smooth gameplay. For fast-paced games, 60 FPS is a must. 30 FPS is acceptable for slower, cinematic games.
2. Output Settings (The Crucial Part):
In OBS, go to Settings > Output. Set the output mode to Advanced to unlock all options.
- Encoder: This is the most important choice.
- If you have an NVIDIA GPU (RTX 20/30/40 series), select NVIDIA NVENC H.264 (new). For the highest quality on a powerful card, NVIDIA NVENC HEVC (H.265) offers better compression at the same file size, but has less compatibility with some video editors.
- If you have an AMD GPU (RX 5000/6000/7000 series), select AMD HW H.264 (AVC) or AMD HW HEVC.
- Rate Control: Select CQP (Constant Quality) or CBR (Constant Bitrate).
- CQP (Recommended for Recording): This is the best choice for local recording. It dynamically allocates bitrate to maintain a consistent visual quality. A lower CQP value means higher quality and larger file sizes.
- CQP Level 18-22: Excellent quality. Use this for your master recordings.
- CQP Level 23-28: Great quality, smaller file sizes. Good for longer sessions.
- CBR (Recommended for Streaming): Used for streaming where a constant bitrate is required to maintain a stable connection to platforms like Twitch or YouTube.
- CQP (Recommended for Recording): This is the best choice for local recording. It dynamically allocates bitrate to maintain a consistent visual quality. A lower CQP value means higher quality and larger file sizes.
- Preset: Choose Quality or Max Quality. This tells the encoder to prioritize quality over performance. “Max Quality” will have a slightly higher performance hit.
- Keyframe Interval: Set this to 0 for automatic, or 2 seconds to be safe.
Summary of a great OBS NVENC recording setup:
- Encoder: NVIDIA NVENC H.264
- Rate Control: CQP
- CQ Level: 20
- Preset: Quality
- Profile: high
- Look-ahead: Off (can increase performance hit)
- Psycho Visual Tuning: On (improves perceived quality)
Part 3: Techniques & Tips for a Professional Result
1. Always Do a Test Record: Before starting a long session, record 1-2 minutes of intense gameplay. Watch it back to check for stutters, audio issues, or visual artifacts.
2. Manage Your Resources:
- Close Background Applications: Web browsers (especially Chrome) are memory hogs. Close everything you don’t need.
- Cap Your In-Game FPS: If your game is running at 200 FPS but your monitor is only 144Hz, you’re creating unnecessary GPU load. Cap your FPS to your monitor’s refresh rate or just below it using in-game settings or NVIDIA/AMD control panel. This frees up resources for a smoother recording.
3. Record Game Audio and Mic on Separate Tracks: This is a pro tip! In OBS Advanced Audio Properties, set your Desktop Audio to Track 1 and your Microphone to Track 2. When you edit, you can adjust game volume and your voice volume independently. No more loud game audio drowning out your commentary!
4. Consider Your Perspective:
- Use a Face Cam: It builds a connection with your audience. Ensure it’s well-lit (natural light or a cheap ring light works) and framed properly.
- Check Your Background: Make sure it’s tidy and not distracting.
5. Capture the Unexpected:
- Use NVIDIA ShadowPlay’s “Instant Replay” or OBS’s “Replay Buffer” feature. This lets you save the last 1-5 minutes of gameplay after something amazing happens. You never have to worry about forgetting to hit record again.
6. Post-Processing (The Final Polish):
- Editing: Use editing software like DaVinci Resolve (free and powerful), Adobe Premiere Pro, or Final Cut Pro to cut out dull parts, add transitions, text, and music.
- Color Correction: A slight color grade can make your footage pop.
- Compression: When you export your final video from your editor, use a high bitrate (e.g., 20-40 Mbps for 1080p60) for uploading to YouTube. The platform will compress it further, but giving it a high-quality source ensures the best final result.
Conclusion
Recording high-quality gameplay is a blend of the right hardware, optimized software settings, and smart techniques. By leveraging your GPU’s encoder (like NVENC), using a robust tool like OBS Studio, and recording your audio on separate tracks, you can create footage that stands out from the crowd. Remember, the key is to test, experiment, and find the perfect balance between quality and performance that works for your specific setup. Now go out there and capture your epic moments

Leave a comment