So, you’ve shot some great footage and you’re ready to turn it into a compelling video. The first, and perhaps most crucial, step is to get comfortable with the environment where the magic happens: the video editing interface.
While every editing software—from professional ones like Adobe Premiere Pro and DaVinci Resolve to user-friendly options like iMovie and Clipchamp—has its unique layout, they all share a common foundational structure. Understanding this layout is key to a smooth and efficient editing workflow.
Let’s break down the standard editing interface into its core components.
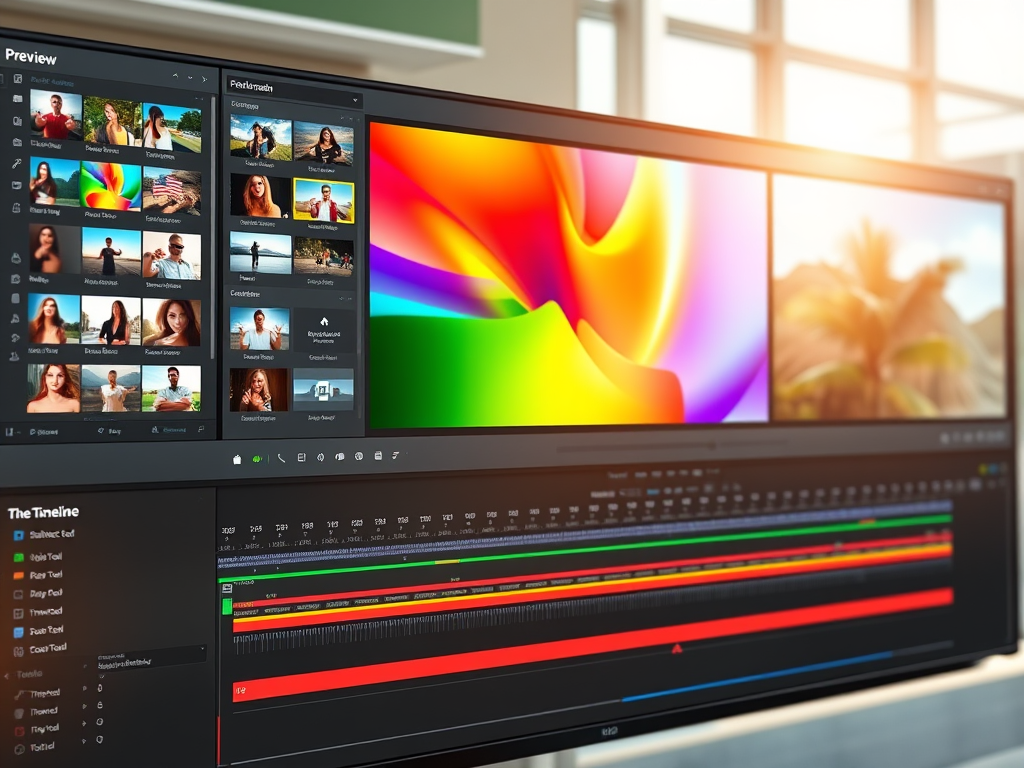
1. The Preview Window (or Viewer Panel)
This is your canvas. The Preview Window is the large screen where you watch your edited video play back. It’s your primary tool for:
- Reviewing your raw footage before adding it to the timeline.
- Monitoring your edits, transitions, and effects in real-time.
- Fine-tuning details like color, framing, and titles.
You’ll find playback controls (play, pause, rewind, fast-forward) here to navigate through your project precisely.
2. The Source/Media Panel (or Library/Bin)
Think of this as your toolbox or ingredients cupboard. This panel houses all your assets—everything you need to create your video.
- Video Clips: Your raw footage.
- Audio Files: Music, sound effects, and narration.
- Graphics: Images, logos, and titles.
- Sequences: Nested timelines or other projects.
You import, organize, and select your media from this area before dragging it into your timeline.
3. The Timeline Panel
This is the heart of your edit. The Timeline is where you assemble your story. It’s a linear representation of your video, broken down into layers.
- Tracks (Layers): Video tracks are stacked on top of each other. The top track’s content will appear in front of the content on lower tracks. This is crucial for overlaying titles, graphics, or multiple video clips. Similarly, audio tracks sit below, allowing you to layer music, dialogue, and sound effects.
- Clips: Your media files appear as blocks or segments on these tracks. You can trim, cut, move, and arrange these clips to create the flow of your video.
- Playhead: The vertical line that moves through the timeline as your video plays. It shows you the exact point you are at in your project.
Mastering the timeline is the essence of video editing.
4. The Tools Panel
This is a compact menu, often found near the timeline, containing your essential editing instruments. The most common tools include:
- Selection Tool (Arrow): The default tool for selecting and moving clips.
- Razor Tool (Knife): Used to cut a clip into two separate parts.
- Hand Tool: Allows you to click and drag to navigate through a long timeline.
- Zoom Tool: Lets you zoom in and out of the timeline for finer control.
- Text Tool: For adding titles directly.
5. The Effects & Transitions Panel
This is where you add flavor and polish. This panel contains a library of pre-built digital assets that can alter your clips.
- Transitions: These are the effects placed between two clips (e.g., a fade to black, a cross-dissolve, a wipe).
- Video Effects: Filters that change the look of a clip (e.g., color correction, blurs, distortions, stylized looks).
- Audio Effects: Tools to enhance or repair your sound (e.g., equalization, compression, reverb).
6. The Audio Meters
Often displayed as a vertical bar graph, the audio meters provide a visual representation of your project’s sound levels. The key thing to watch for is the meter hitting the yellow zone (good) but avoiding the red zone (bad, as it causes distortion and clipping). Keeping an eye on this ensures your audio is clear and professional.
7. The Export/Share Button
The finish line! This isn’t always a panel, but it’s a vital button—often represented by an arrow or share icon. Clicking this opens a window with settings to render your final video into a single, shareable file. Here, you choose the resolution (e.g., 1080p, 4K), format (e.g., MP4, MOV), and destination for your exported video.
Conclusion: Your Digital Workshop
Remember, the editing interface is simply a digital workshop designed for a logical workflow:
- Gather your media in the Library.
- Assemble your story on the Timeline.
- Refine and polish with Effects and Transitions.
- Preview your work in the Viewer.
- Export your final product.
Don’t be intimidated. The best way to learn is to open your software, import a few clips, and start clicking, dragging, and experimenting. As you become familiar with each panel’s purpose, you’ll spend less time searching for buttons and more time bringing your creative vision to life.
Happy editing!

Leave a comment