In any video content—be it a documentary, a YouTube tutorial, a podcast, or a corporate presentation—clear voice commentary is non-negotiable. Your audience can forgive less-than-Hollylywood visuals, but poor, muddy, or distracting audio will cause them to click away instantly. Achieving professional-sounding voiceovers isn’t just about having an expensive microphone; it’s about technique, environment, and understanding a few key settings.
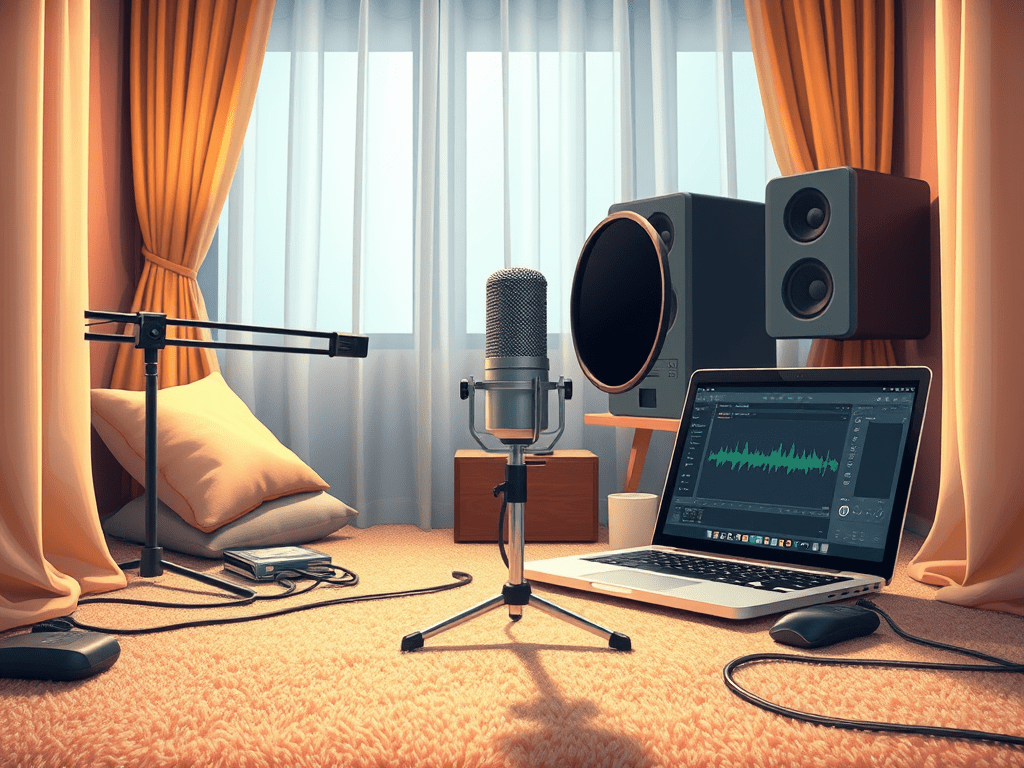
Part 1: The Foundation – Your Recording Environment
Before you even think about your microphone, address your recording space. A great mic in a bad room will only excel at picking up every unwanted sound.
- Silence is Golden: Find the quietest room possible. Turn off fans, air conditioning, refrigerators, and any humming electronics. Close windows to block street noise and notify others not to disturb you.
- Tame the Echo: The enemy of clear audio is reverb (echo), caused by sound waves bouncing off hard, flat surfaces. You don’t need a professional studio to fix this.
- Soft is Good: Record in a carpeted room with curtains, couches, and bookshelves. These soft, irregular surfaces absorb sound waves.
- DIY Vocal Booth: Create a small, dampened space around your microphone. Hang thick blankets on the walls, or even record in a closet full of clothes, which makes an excellent vocal booth.
Part 2: Microphone Techniques – How to Speak and Position
Your technique is just as important as your equipment.
- Microphone Choice:
- USB Mics: Perfect for beginners (e.g., Blue Yeti, Rode NT-USB). They plug directly into your computer and are easy to set up.
- XLR Mics: The professional standard (e.g., Shure SM7B, Rode Procaster). They require an audio interface but generally offer higher quality and more control.
- Positioning (The Golden Rules):
- The Pop Filter: Always use one! This mesh screen placed between you and the mic stops plosive sounds—the harsh “p” and “b” pops—that create disruptive blasts of air.
- Distance: Position the microphone about 4-6 inches (a fist’s width) from your mouth. This is the sweet spot for capturing a full, clear tone without excessive room noise.
- Angle: Speak slightly off-axis—not directly into the center of the mic—to further reduce plosives and sibilance (harsh “s” sounds).
- Stay Consistent: Don’t move your head around while speaking. Maintaining a consistent distance ensures your volume level stays even.
Part 3: Software Settings – The Digital Magic
Now, let’s look inside your recording software (DAW or video editor like Audacity, Adobe Audition, or Descript).
- Sample Rate and Bit Depth: For voice recording, a 44.1 kHz sample rate and 24-bit depth are ideal. This provides excellent quality and gives you headroom for editing.
- Gain Staging (The Most Important Setting): This is the input level for your microphone.
- Aim for Peaks around -12dB to -6dB. Speak at your intended volume and adjust the gain knob on your interface or software so the loudest parts don’t hit 0dB.
- Why? Recording too loud causes distortion (clipping), which is impossible to fix. Recording at a healthy level like -12dB gives you clean audio and room to process it later.
Part 4: Basic Post-Processing – The Polish
Every professional voiceover undergoes a few simple processing steps. The order of these effects is crucial.
- Noise Reduction: Use a tool to capture a “noise profile” of your room tone (a few seconds of silence) and then apply reduction to the entire track. Use this sparingly to avoid a robotic, watery sound.
- Compression: This evens out your volume by making the loud parts quieter and the quiet parts louder. This creates a consistent, professional sound where every word is heard clearly without you having to whisper or shout. A mild compression ratio of 3:1 or 4:1 is a good start.
- EQ (Equalization): Gently shape your tone.
- Cut Low-End Rumble: Apply a high-pass filter (low-cut) around 80-100 Hz to remove traffic rumbles and breath pops.
- Add Clarity: A slight boost in the presence range (2.5 kHz – 5 kHz) can help the voice cut through and sound more articulate.
- Loudness Normalization: Finally, export your audio to a standardized loudness level (like -16 LUFS for YouTube or -19 LUFS for podcasts) so it sounds consistent with other content.
Conclusion
Recording clear voice commentary is a skill built on three pillars: a treated environment, proper microphone technique, and mindful software settings. By investing time in creating a quiet space, positioning your microphone correctly, setting your gain properly, and applying a few simple post-processing effects, you can elevate your audio quality from amateur to professional. Remember, great audio isn’t heard—it’s felt. It subconsciously tells your audience that you value their experience and that your content is worth listening to.

Leave a comment