So, you’ve had an epic gaming moment, a hilarious playthrough, or a helpful tutorial you’re excited to share with the world. Uploading your first video to YouTube can seem a little daunting, but it’s actually a straightforward process. This step-by-step guide will walk you through everything you need to know, from preparation to hitting that publish button.
Let’s get your game out there!
Part 1: Preparation (Before You Even Open YouTube)
A successful upload starts long before you visit the YouTube website.
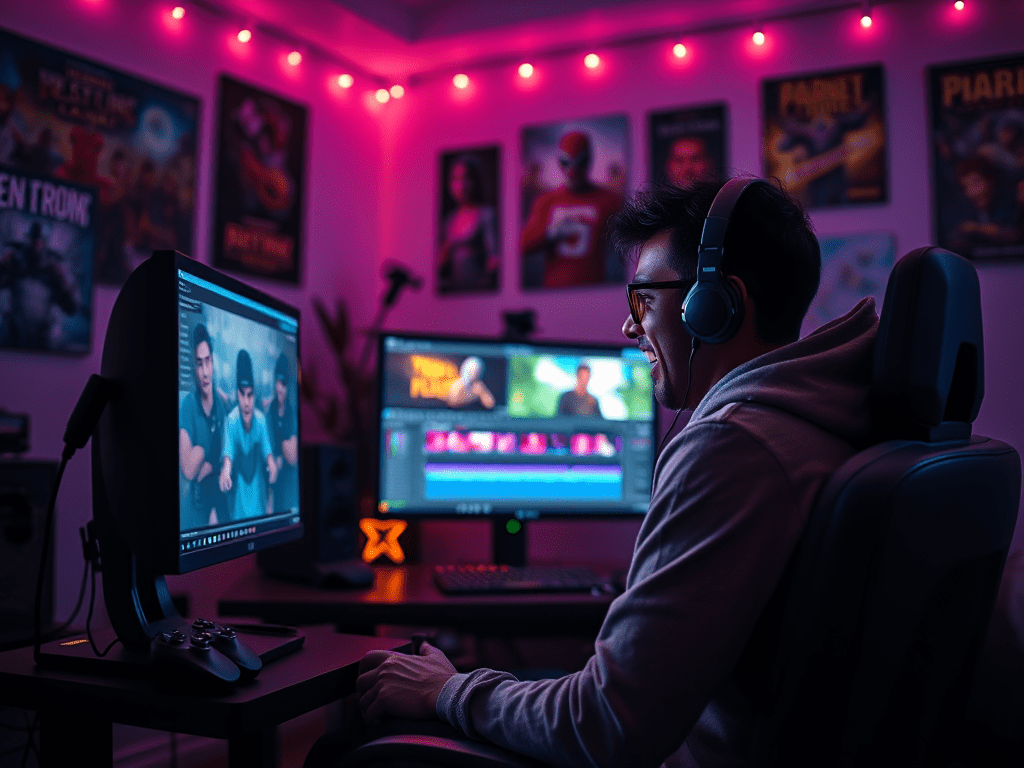
Step 1: Record Your Gameplay
First, you need the video file itself. You can use various software to record your screen:
- PC Gamers: OBS Studio is a powerful, free, and popular choice. Other options include NVIDIA ShadowPlay (for NVIDIA GPU users) or AMD ReLive (for AMD GPU users).
- Console Gamers: Both PlayStation and Xbox have built-in recording features. You can also use a capture card (like Elgato or AVerMedia) for higher quality and more control, especially if you want to add commentary from a separate microphone.
Pro Tip: Record in the highest quality your hardware can handle (e.g., 1080p or 4K) and at a stable frame rate (60fps is ideal for fast-paced games).
Step 2: Edit Your Video (Highly Recommended)
Raw gameplay can be long and unfocused. Editing makes it engaging.
- Free Software: DaVinci Resolve is a professional-grade editor with a fantastic free version. Clipchamp is built into Windows and is very beginner-friendly.
- What to Edit:
- Trim the beginning and end to remove dead air.
- Cut out boring parts or mistakes to keep the pace high.
- Add an intro (a short clip with your channel’s name) and an outro (a end-screen inviting viewers to subscribe).
- Include background music (ensure it’s royalty-free from sites like YouTube Audio Library or Pixabay).
- Add text, commentary, or sound effects.
Step 3: Create a Compelling Thumbnail
The thumbnail is the first thing people see. A good one can make the difference between a click and a scroll-past.
- Use a clear, high-quality screenshot from your video.
- Add bold, easy-to-read text.
- Make it bright and exciting. You can use free tools like Canva or GIMP to design it.
Step 4: Write Your Title and Description
Have these ready before you upload. This saves time and helps you stay focused.
- Title: Make it catchy and include relevant keywords (e.g., “Minecraft,” “First Time,” “Epic Fail”). Example: “My FIRST Time Playing Minecraft and I Built a CASTLE!?”
- Description: Write a brief summary of the video. Include links to your social media, and mention the games you played. Also, use this space for any necessary credits for music or assets.
Part 2: The Upload Process
Now for the main event! Go to YouTube.com and make sure you’re signed in.
Step 5: Start the Upload
In the top-right corner of the screen, click the camera icon with a plus sign and select “Upload video.”
Step 6: Select Your Video File
Drag and drop your video file into the box or click “Select files” to browse your computer. The video will begin uploading. This can take from a few minutes to several hours, depending on the file size and your internet speed.
Step 7: Fill in the Details (The Most Important Part!)
While the video is uploading, you’ll see a screen to add all the information.
- Title: Paste the title you prepared earlier.
- Description: Paste your description here.
- Thumbnail: Click “Upload thumbnail” and select the image you created.
- Playlist: You can add the video to a relevant playlist (e.g., “Gameplay Series” or “Tutorials”). If it’s your first video, you might not have one yet.
Step 8: Audience Settings (Crucial!)
YouTube will ask, “Is this video made for kids?” Based on your content and target audience, select “Yes, it’s made for kids” or “No, it’s not made for kids.” This is a legal requirement and affects how your video is treated by YouTube’s system. For most gaming content, the answer is “No.”
Part 3: Final Checks and Publishing
You’re almost there!
Step 9: Visibility Settings
This is where you decide when the video goes live.
- Public: Anyone can search for and view it.
- Unlisted: Only people with the link can view it. Great for sharing with friends for feedback before a public release.
- Private: Only you (and any added users) can view it.
- Schedule: You can set a specific date and time for the video to automatically go public.
For your first video, “Unlisted” can be a low-pressure way to start. Once you’re ready, you can change it to “Public.”
Step 10: Hit “Save” or “Publish”
If you set the video to Public or Scheduled, click “Publish.” If you set it to Unlisted or Private, click “Save.”
Congratulations! Your first game video is now on YouTube. It may take a little while for all quality versions (like 1080p) to finish processing, but it’s live!
Final Pro Tips for Your First Upload
- Be Consistent: Try to upload regularly. It helps build an audience.
- Engage with Comments: Reply to people who take the time to comment. It builds a community.
- Don’t Get Discouraged: Every big YouTuber started with zero subscribers. Focus on having fun and improving with each video.
The most important step is to start. Good luck, and have fun sharing your passion for gaming

Leave a comment