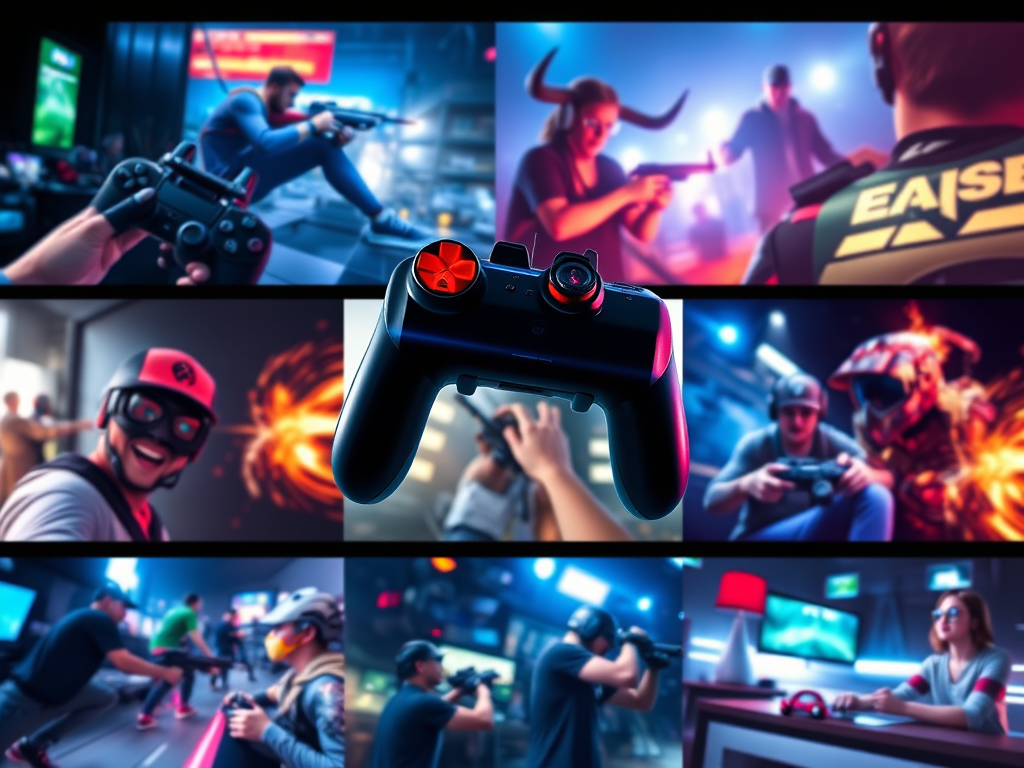
So, you’ve collected a bunch of awesome gameplay clips. Maybe it’s a series of insane headshots, hilarious fails, or just beautiful moments from your favorite game. A montage is the perfect way to weave those clips together into a fast-paced, exciting video that captures the best of your gameplay.
Creating your first montage might sound like a job for a professional, but it’s actually a fantastic and achievable project for beginners. This guide will walk you through the process using basic editing principles that you can apply in almost any editing software.
Let’s turn those clips into something epic!
What You’ll Need:
- Your Clips: A collection of your best gameplay moments.
- Editing Software: Don’t worry, you don’t need anything expensive.
- Great Free Options: DaVinci Resolve (powerful, for PC/Mac), CapCut (surprisingly capable, for PC/Mac and mobile), or iMovie (for Mac/iOS users).
- A Song: The heart of any montage! Pick a track you love that matches the energy you want. Important: Use royalty-free music from sites like the YouTube Audio Library, StreamBeats, or Pixabay to avoid copyright issues.
The Simple 5-Step Montage Workflow
Step 1: Gather and Organize Your Clips
Before you open your editor, get your assets ready.
- Go through your recordings and pick the very best moments—the kills, the wins, the funny glitches. Short, impactful clips (3-10 seconds each) work best.
- Create a folder on your computer and put all the selected clips inside. This keeps everything tidy.
Step 2: Import Everything and Set the Timeline
- Open your editing software and create a new project. Name it something like “My First Montage.”
- Import your clips and your chosen song into the software’s media library.
- Drag your song onto the timeline first. This is the secret to a great montage: you’ll edit the video to match the music, not the other way around.
Step 3: The Magic of Syncing Clips to the Beat
This is the most important step and what makes a montage feel professional.
- Listen to the song. Identify the main beat, the chorus, and any big drops or changes in tempo.
- Place your clips on the timeline, above the music track.
- Cut and trim your clips so that the key action happens on the beat. For example:
- The moment a sniper bullet hits an enemy should coincide with a drum hit.
- A quick transition to a new clip should happen at the start of a new musical phrase.
- A big explosion or victory screen should align with the song’s drop or chorus.
Pro Tip: Don’t be afraid to make clips very short. In a montage, rapid-fire clips synced to the beat are incredibly effective.
Step 4: Add Simple Transitions and Effects (Less is More!)
It’s tempting to use every flashy effect, but simplicity is key.
- Transitions: Stick mainly to simple cuts. You can add a few quick dips to black or a zoom transition between major sections of the song for flair.
- Basic Color Correction: Most editors have an “Auto Color” or “Color Correction” tool. Applying this can make your clips look more vibrant and consistent.
- Sound Effects (Optional): Add a few subtle sound effects—like a whoosh with a transition or a deep boom on a big hit—to emphasize key moments.
Step 5: Export Your Masterpiece
You’re done! Now it’s time to create the final video file.
- Look for an option called Export, Render, or Share.
- Use a Recommended Preset: For YouTube, choose a preset like YouTube 1080p or MP4 H.264.
- Resolution: 1920×1080 (1080p) is perfect for your first project.
- Frame Rate: Match the frame rate you recorded in (usually 60fps or 30fps).
Click export, and your computer will process the video. This might take a few minutes. Once it’s done, you have a finished game montage ready to upload to YouTube or share with your friends!
Key Tips for Your First Montage
- Keep it Short: Aim for 1-2 minutes. A short, high-impact montage is better than a long, boring one.
- Storyboard (Optional but Helpful): Before you start, jot down a rough order for your clips. Do you want to build up to the best moment? Tell a mini-story?
- Watch it Back: Before exporting, watch your entire montage. Does the flow feel right? Does the action match the music? Make any final tweaks.
The goal of your first montage isn’t perfection; it’s completion. You’ll learn so much just by going through the process. So fire up your editor, pick a killer song, and have fun creating!

Leave a comment