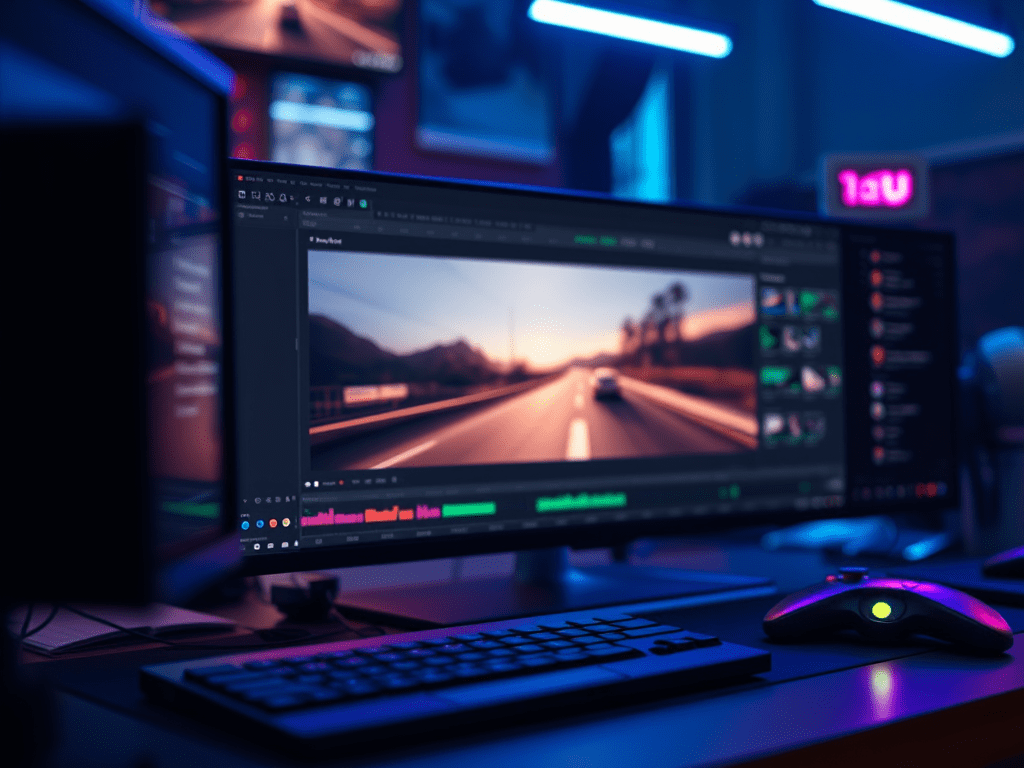
Every game video creator knows that slick transitions are the secret sauce that separates a simple gameplay clip from a cinematic highlight reel. While the Cut and Edit pages in DaVinci Resolve offer fantastic built-in transitions, the real magic happens inside the Fusion page. Fusion is a powerful, node-based compositing environment that gives you unparalleled control to create custom, eye-catching transitions that perfectly match your game’s style and energy.
This guide will walk you through the power of Fusion and show you how to build a signature transition from scratch.
Why Use Fusion for Transitions?
Before we dive in, let’s address the “why.” The built-in transitions are great, but they are generic. With Fusion, you can:
- Create Branded Effects: Design a unique transition that becomes your signature style.
- Match Game Aesthetics: Make a glitch transition for a cyberpunk game, a magical portal for an RPG, or a pixel dissolve for a retro indie title.
- Seamlessly Blend Clips: Use motion tracking and masks to make transitions happen within the game world, not just between two shots.
- Unlock Infinite Possibilities: The node-based system is a playground for creativity, allowing you to combine effects, textures, and animations in ways preset transitions never could.
Fusion Fundamentals: The Node-Based Mindset
If you’re new to Fusion, the node-based workflow can be intimidating. Think of it as a flowchart:
- MediaIn Nodes: These are your two video clips (Clip A and Clip B).
- Tools: These are the effects and operations (like blurs, glows, masks, etc.).
- Merge Node: This is the crucial tool that combines two image streams. It’s the heart of most transitions.
- MediaOut Node: This is the final output that sends your composite back to the Edit page.
The connection lines show the flow of your image data. You don’t apply an effect “on top” of a clip; you route the clip through the effect.
Building Your First Fusion Transition: The “Pixel Dissolve”
Let’s create a popular gaming transition: the Pixel Dissolve, where one clip breaks apart into pixels to reveal the next.
Step 1: Set Up Your Timeline
- In the Edit Page, place Clip A and Clip B on two adjacent video tracks (V1 and V2), with a short overlap.
- Right-click on the clip on the upper track (Clip A) and choose “New Fusion Clip.” This creates a container where we will build our effect.
Step 2: Enter the Fusion Page
- Select the Fusion Clip you just created and navigate to the Fusion Page. You’ll see a node graph with a
MediaIn1andMediaOut1node.
Step 3: Bring in Your Second Clip
- Press Shift + Spacebar to open the tool selector.
- Add a second MediaIn node. In its inspector, change the input to
MediaIn2, which represents your second video track (Clip B). - You should now have
MediaIn1(Clip A) andMediaIn2(Clip B) in your node graph.
Step 4: Create the Pixelation Effect
- Select your
MediaIn1node. Add a Rectangle Mask tool (from the mask category). Draw a mask that covers the entire frame. - Now, with the Rectangle node selected, add a Replicate tool. This will create a grid of copies. Lower the
WidthandHeightvalues in the Replicate inspector to create a chunky pixelated look. - Next, add a Displace tool. Connect the
Replicate1node to the yellow (Foreground) input of theDisplace1node. We will animate this later.
Step 5: Animate the Dissolve
- Select the
Rectangle1node. In the Inspector, you’ll see controls for the mask’sHeightandWidth. - Move your playhead to the beginning of the transition.
- For the
Heightparameter, click the Animation Menu (diamond icon) and choose “Set Keyframe.” - Move the playhead to the end of the transition duration.
- Change the
Heightvalue to0. A new keyframe will be set automatically. - Now, go back to the
Displace1node. Right-click on theShift XandShift Yparameters and choose “Expression.” - In the expression field for both, type
time*-100. This will make the pixels move over time, creating a dissolving effect. You can adjust the-100value for faster/slower movement.
Step 6: Merge the Clips
- Add a Merge node.
- Connect
MediaIn2(your background clip, Clip B) to the green (Background) input of the Merge node. - Connect the
Displace1node (your animated pixelated clip) to the yellow (Foreground) input of the Merge node. - Finally, connect the output of the
Mergenode to yourMediaOut1node.
Step 7: Refine and Preview
Play through the transition. You can now adjust the keyframe timing for a faster or slower dissolve, change the Replicate values for bigger or smaller “pixels,” or modify the displacement expression for different movement. Add a Glow tool between Displace1 and the Merge node for an extra energetic look!
Pro Tips for Next-Level Game Transitions
- Use Motion Blur: Add a Vector Blur tool after animated effects. This simulates motion blur, making fast transitions look much smoother and more professional.
- Incorporate Game HUD Elements: Mask around a part of your game’s HUD for a “UI Wipe” transition. It feels incredibly immersive.
- Explore the Effects Library: Fusion has a “Tools” tab full of powerful generators and modifiers. The Noise and Texture tools are great for adding gritty or magical elements.
- Color Your Transitions: Add a Color Corrector node to your foreground stream to tint the transition for a specific mood.
Conclusion
Stepping into Fusion is the single biggest upgrade you can give your game video editing workflow in DaVinci Resolve. While it has a learning curve, starting with a simple project like this custom transition unlocks a world of creative potential. Move beyond the presets and start building transitions that are as unique and dynamic as the games you play. Your highlight reels will never be the same.

Leave a comment