In the world of video editing and motion graphics, transitions are the invisible stitches that hold a visual narrative together. They guide viewer attention, establish pacing, and enhance storytelling. For years, premium software like Adobe Premiere Pro, After Effects, and Final Cut Pro have dominated the professional landscape, with their extensive libraries of sleek transitions and effects. However, their subscription models and hefty one-time purchase prices can be prohibitive for students, independent creators, and small organizations. The good news? Professional-quality transitions are not locked behind paywalls. With creativity, strategic thinking, and a suite of powerful free tools, you can craft stunning, professional visual effects that rival those produced with expensive software.
This guide explores a comprehensive approach to achieving pro-level transitions without premium costs, focusing on three pillars: utilizing advanced free software, mastering fundamental DIY techniques, and adopting a resourceful creative mindset.
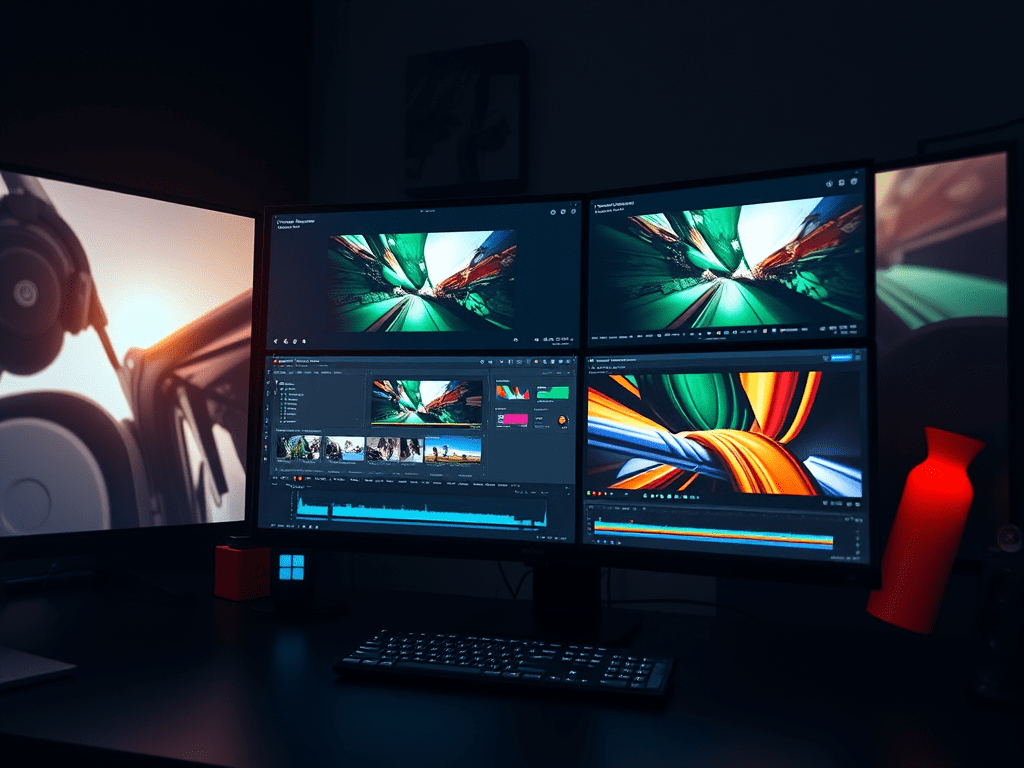
Part 1: The Powerhouse Free Software Suite
Gone are the days when free software meant severely limited capabilities. Today’s open-source and freemium models offer robust alternatives.
1. DaVinci Resolve: The All-in-One Powerhouse
Blackmagic Design’s DaVinci Resolve is a game-changer. Its free version is so feature-rich that it’s used in Hollywood color grading and editing. For transitions:
- Fusion Page: This built-in node-based compositor is your secret weapon. You can create complex, custom transitions from scratch using polygons, particles, and light effects. While it has a learning curve, countless free tutorials online teach you how to build “light leaks,” “digital glitches,” or elegant shape-based wipes.
- Transition Library: The free version includes a solid collection of standard dissolves, wipes, and dips. You can customize their duration and, with some ingenuity, layer them for unique results.
- Keyframing & Animation: The powerful keyframing engine on the Edit and Fusion pages allows you to animate scale, position, rotation, and opacity with curve editors for smooth, cinematic easing—the core of any custom transition.
2. Blender: The 3D Transition Factory
While known as a 3D animation suite, Blender’s Video Sequence Editor and motion graphics capabilities are formidable. For unique 3D transitions:
- Animated Masks: Model simple 3D shapes (a rotating cube, a sweeping plane) and use them as animated masks between clips, creating transitions that are impossible in 2D editors.
- Geometry Nodes & Simulations: For advanced users, you can simulate particles or fluid that reveals the next scene, or use geometry nodes to create morphing, algorithmic patterns for transitions.
3. Shotcut & Olive: Open-Source Simplicity
These fully open-source editors are lighter but surprisingly effective. Shotcut offers a wide array of filters and compositing modes. You can create a “blur to clear” transition by animating a blur filter, or use the “Matrix Wipe” for retro, customizable patterns. Olive, inspired by early After Effects, offers a node-based workflow for more complex, layered transitions.
4. Leveraging Mobile Power: CapCut & InShot
Don’t underestimate mobile editors. CapCut (for mobile and desktop) is free and offers a surprisingly vast, trend-savvy library of transitions, text animations, and effects. While some elements are branded, the creative possibilities are extensive. Use it to generate transition ideas or even edit short segments to import into a larger project.
Part 2: Mastering Foundational DIY Techniques
Software is just a tool. The true artistry lies in understanding core principles you can recreate anywhere.
1. The “Holy Trinity” of In-Camera & Editorial Transitions:
- Match Cut: This is a conceptual, not software-driven, transition. Cut from one object/shape/motion to a similar one in the next scene. It’s free, elegant, and profoundly professional.
- Whip Pan / Motion Blur: Shoot a rapid pan (whip pan) at the end of one clip and the beginning of the next. In any editor, place them together, often adding a directional blur in the middle. It creates dynamic, energetic pacing.
- Opacity & Cross-Dissolve: The simplest tools are the most powerful. A well-timed cross-dissolve, or a dip to black/white, remains a hallmark of professional pacing. Don’t overlook it.
2. The Art of the Animated Mask:
This is the most versatile free technique. In DaVinci Resolve, Shotcut, or Blender:
- Basic Shape Wipe: Animate a simple circle, diamond, or heart mask to expand and reveal the next clip.
- Creative Reveals: Animate a mask to follow the motion of a subject—e.g., a character opens a door, and the mask reveals the next scene through the doorway.
- Luminance Masking: Use a high-contrast, animated clip (like light flares, fireworks, or moving window shadows) as a “luma key” to transition between scenes based on brightness values.
3. Sound Design as Transition Glue:
A professional transition is 50% visual, 50% auditory. Use free sound libraries like Freesound.org or YouTube Audio Library.
- Add a “whoosh” to a whip pan.
- Place a subtle sub-bass “hit” on a hard cut.
- Use a rising tonal sound for a transition that builds anticipation.
- Let audio from the next clip begin a second before the visual cut (an “J-cut”). This makes any visual change feel smoother and more intentional.
Part 3: The Resourceful Creator’s Toolkit
1. Harvest and Modify Free Assets:
- Motion Graphics Templates from Creator Communities: Platforms like Mixkit.co and Pexels.com offer free, high-quality video clips, including transition elements (light leaks, film burns, dust particles, animated overlays). Import these into your free editor and use blending modes like “Screen” or “Add” to composite them over your cuts.
- Creative Commons & Public Domain Footage: Use archival footage of film leader counts, old TV static, or vintage animations as stylized transition elements.
2. The “Faux” Effect Mindset:
Can’t do a 3D camera spin? Fake it.
- Zoom & Rotate: Scale up one clip rapidly while rotating it slightly as you cut to the next. Add motion blur for realism.
- The “Glitch” Effect: Achieved by duplicating a clip, offsetting it by a few frames, shifting color channels, and adding noise fragments—all doable with basic filters and keyframes.
- Stop-Motion / Strobe Effect: Chop a clip into 3-4 frame segments with hard cuts between them to create a stylized, jarring transition.
3. Rigorous Pre-Production & Shooting for the Edit:
The most professional workflow begins before editing. Plan your transitions while shooting:
- Shoot clean plate shots (empty backgrounds) for easy compositing.
- Film hands, objects, or camera movements that can naturally pass in front of the lens to act as a wipe.
- Ensure consistent lighting and framing between shots that will be connected, making even simple cuts feel seamless.
Conclusion: Empowerment Through Constraint
The pursuit of professional transitions without premium software is more than a budgetary workaround; it is a journey toward deeper creative mastery. It forces you to deconstruct the magic you see in professional films, understanding the core mechanics of motion, timing, and visual continuity. You move from being a consumer of pre-packaged effects to a creator of original visual language.
Tools like DaVinci Resolve and Blender have democratized high-end post-production. When combined with timeless editorial techniques, strategic use of free assets, and, most importantly, your own creativity, the possibilities are limitless. The constraint of not using premium software becomes a catalyst for innovation, pushing you to develop a unique style not defined by a dropdown menu of presets.
Start by mastering one technique—the animated mask, the match cut, or Fusion’s basic tools. Build from there. Remember, the most celebrated editors in history crafted timeless films with tools far simpler than what you have for free today. Your professionalism is defined not by your software’s price tag, but by your vision, attention to detail, and storytelling skill. Now, go create.

Leave a comment